12–26 November 2026 · MArch, University of Westminster · Toby Burgess and Arthur Mamou-Mani
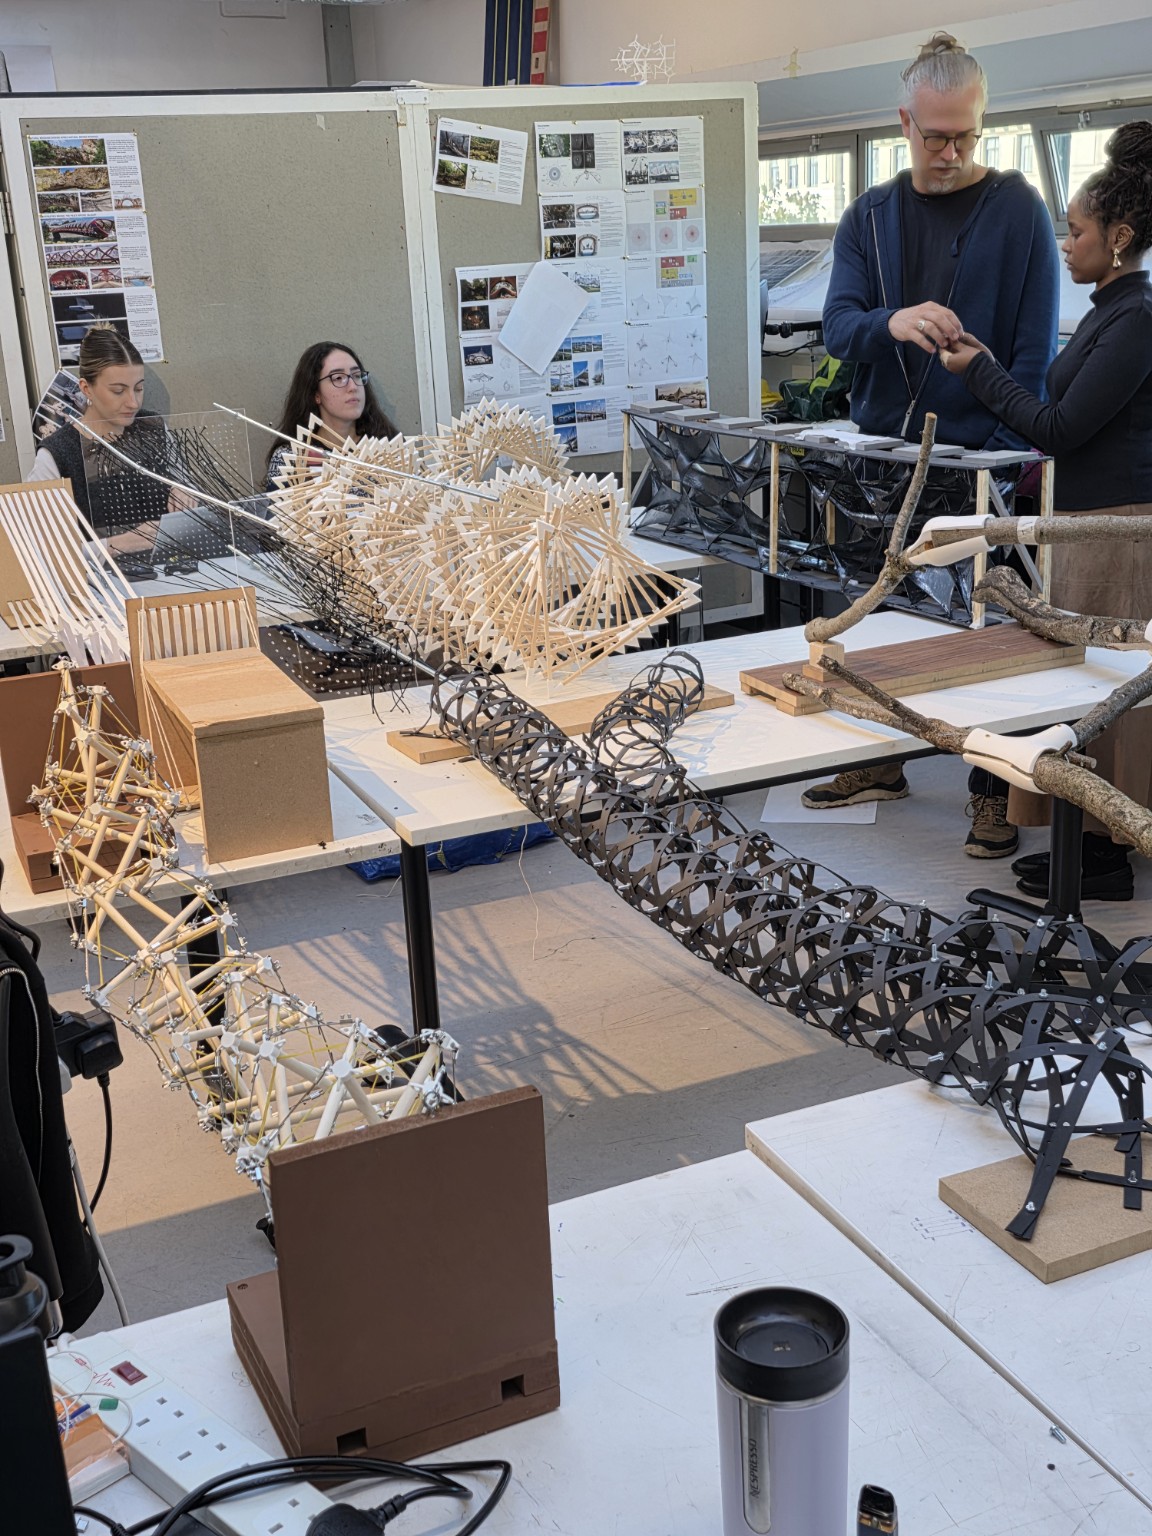
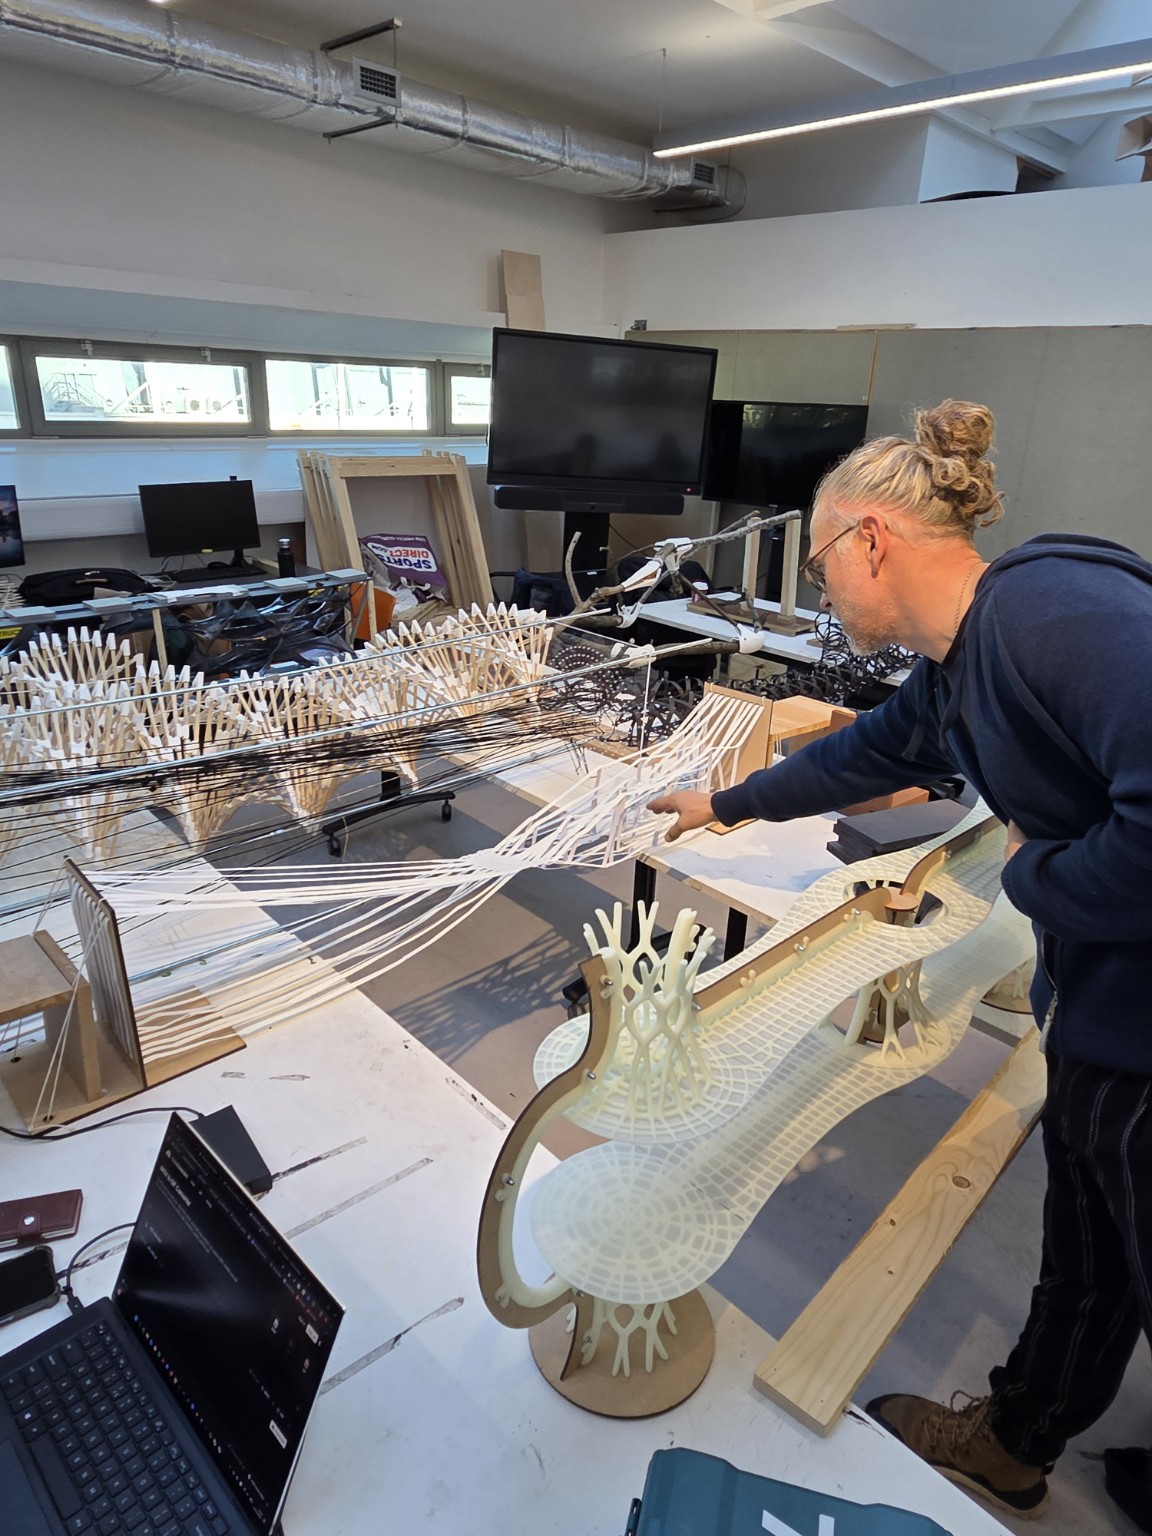
Today we launch Brief 02: Inhabited Span. Around the models we kept coming back to the same question: why does this span need to be here? A splay might become a ramp, a wider bay might give people somewhere to stop, and the way a cable is anchored might change where the bridge lands. Take what you’ve learned through making and see what it can do in a specific place.
2A | Find your site and show us why · Monday 16 November
Start wide, then zoom in. Map existing routes, barriers and destinations across the area. Show what’s disconnected, who would benefit and what evidence led you to this crossing. If you considered alternatives, show why you chose this one. Then draw a working site plan and a rough section showing where the span starts and ends, how people get to each landing, and how the levels, water or habitat affect it. Bring photographs and observations from your visit where available. London and the Thames are a starting point. Another site works if you can visit it and make the case for the connection.
Bring one or two realistic changes from your tutorial. It could be a stronger joint, a clearer anchorage, or a change in the spacing, depth or splay of the system. Show what changed and what you learned. Put your physical test beside the digital prediction, label the load and supports, and show where the two agree or differ. Catch up on the making record with sketches, test photographs, the assembly sequence, quantities, cost and time. Keep the Brief 01 targets in view: a 1.5 m span, a 5 kg central load and a £100 model budget. Record what actually happened.
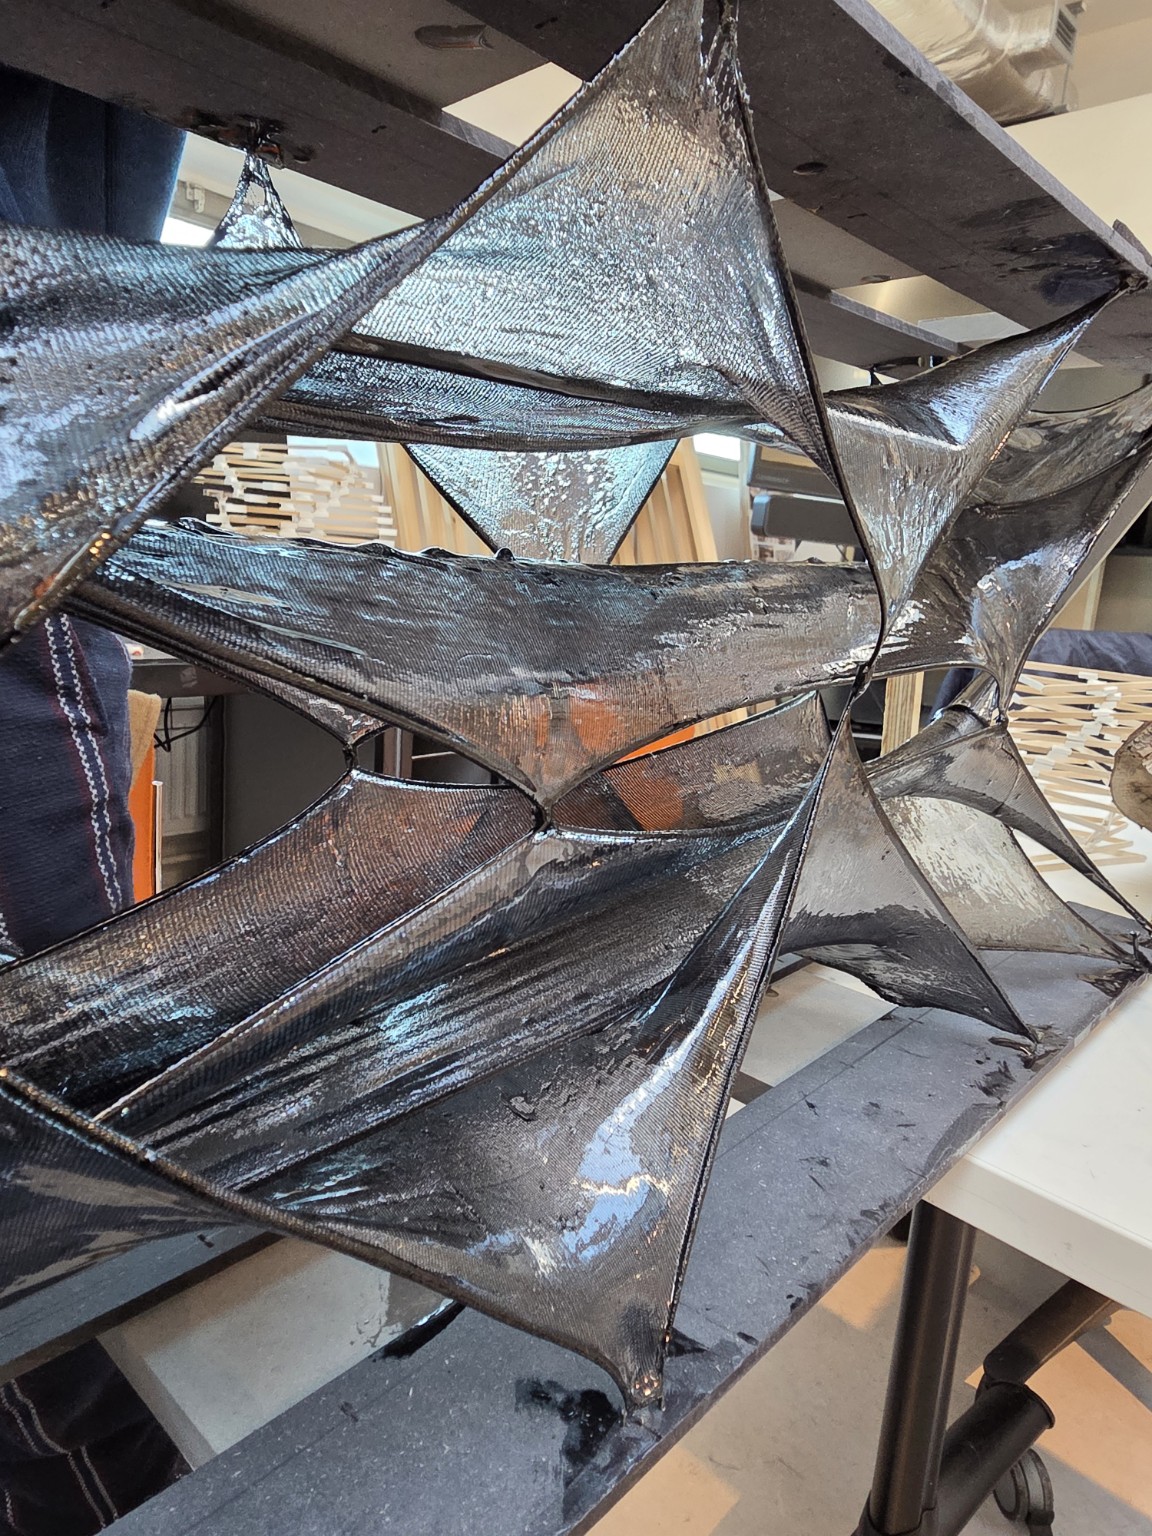
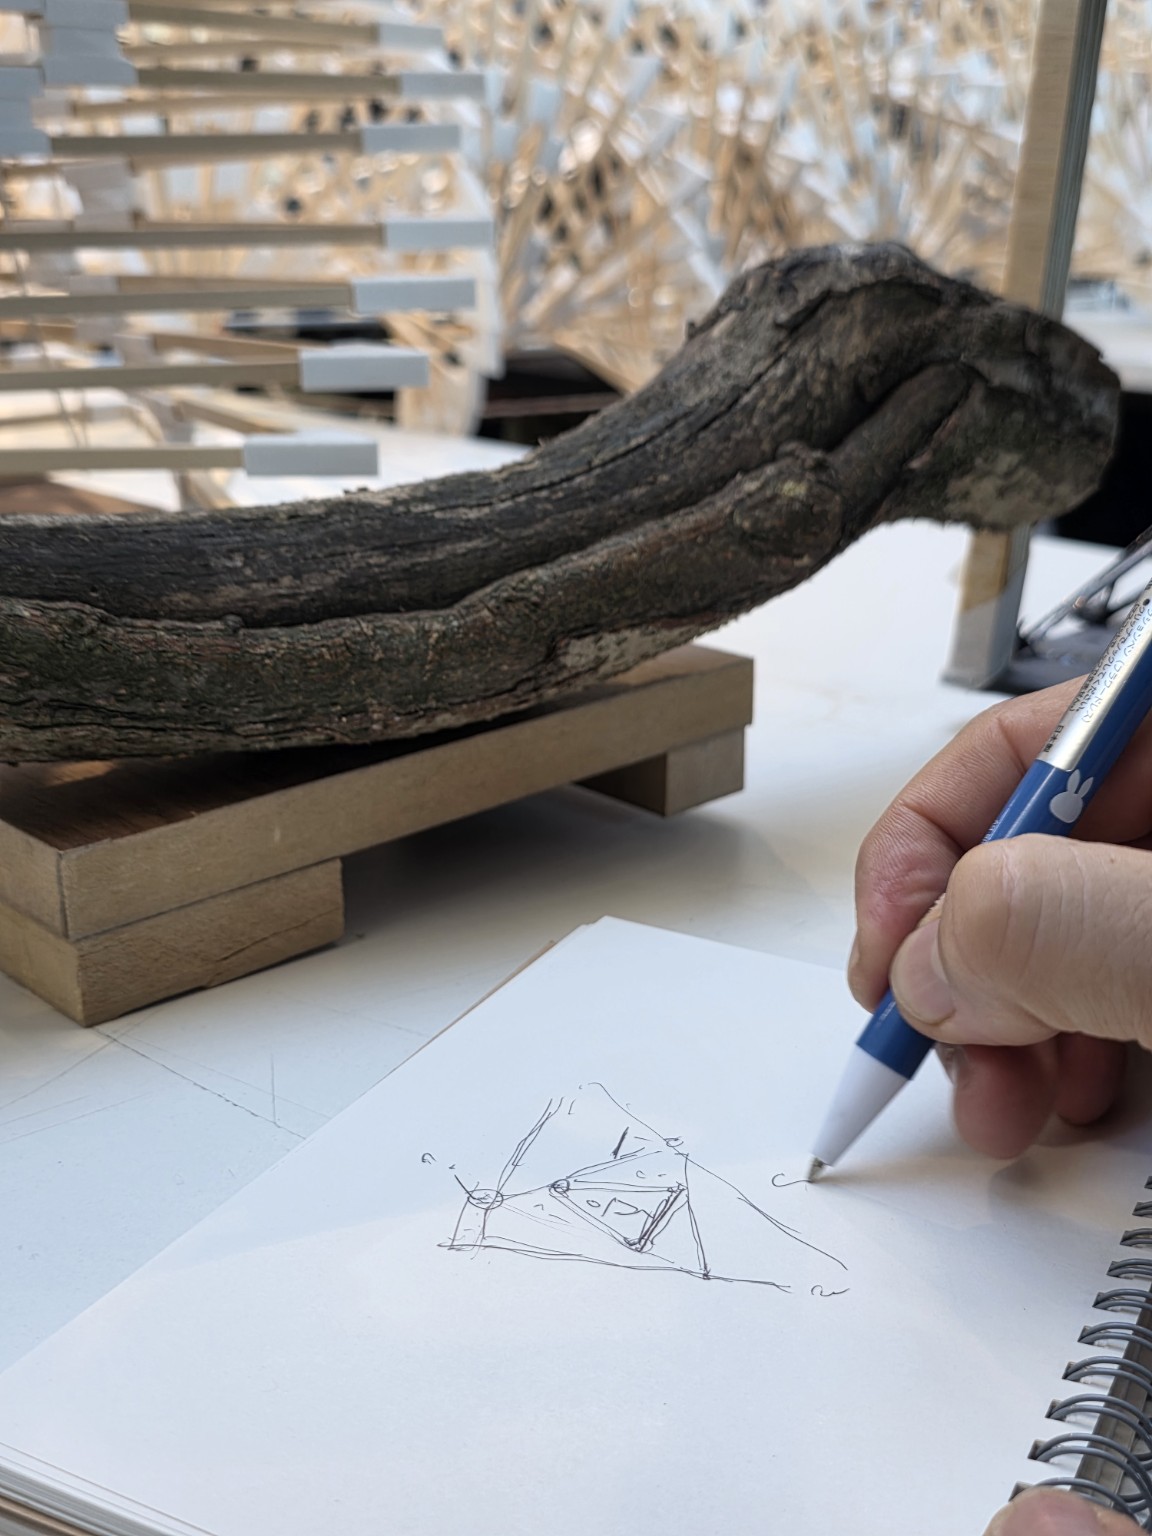
Photograph the bridge before you dismantle it. Find a clean background and good light. Take a photograph of the whole bridge with its maker for scale, plus a few details of the joints and supports. Let’s also get a studio photograph with everyone and the models together. Bring those images into the portfolio alongside your sketches, physical tests and digital studies so we can follow the decisions you made.
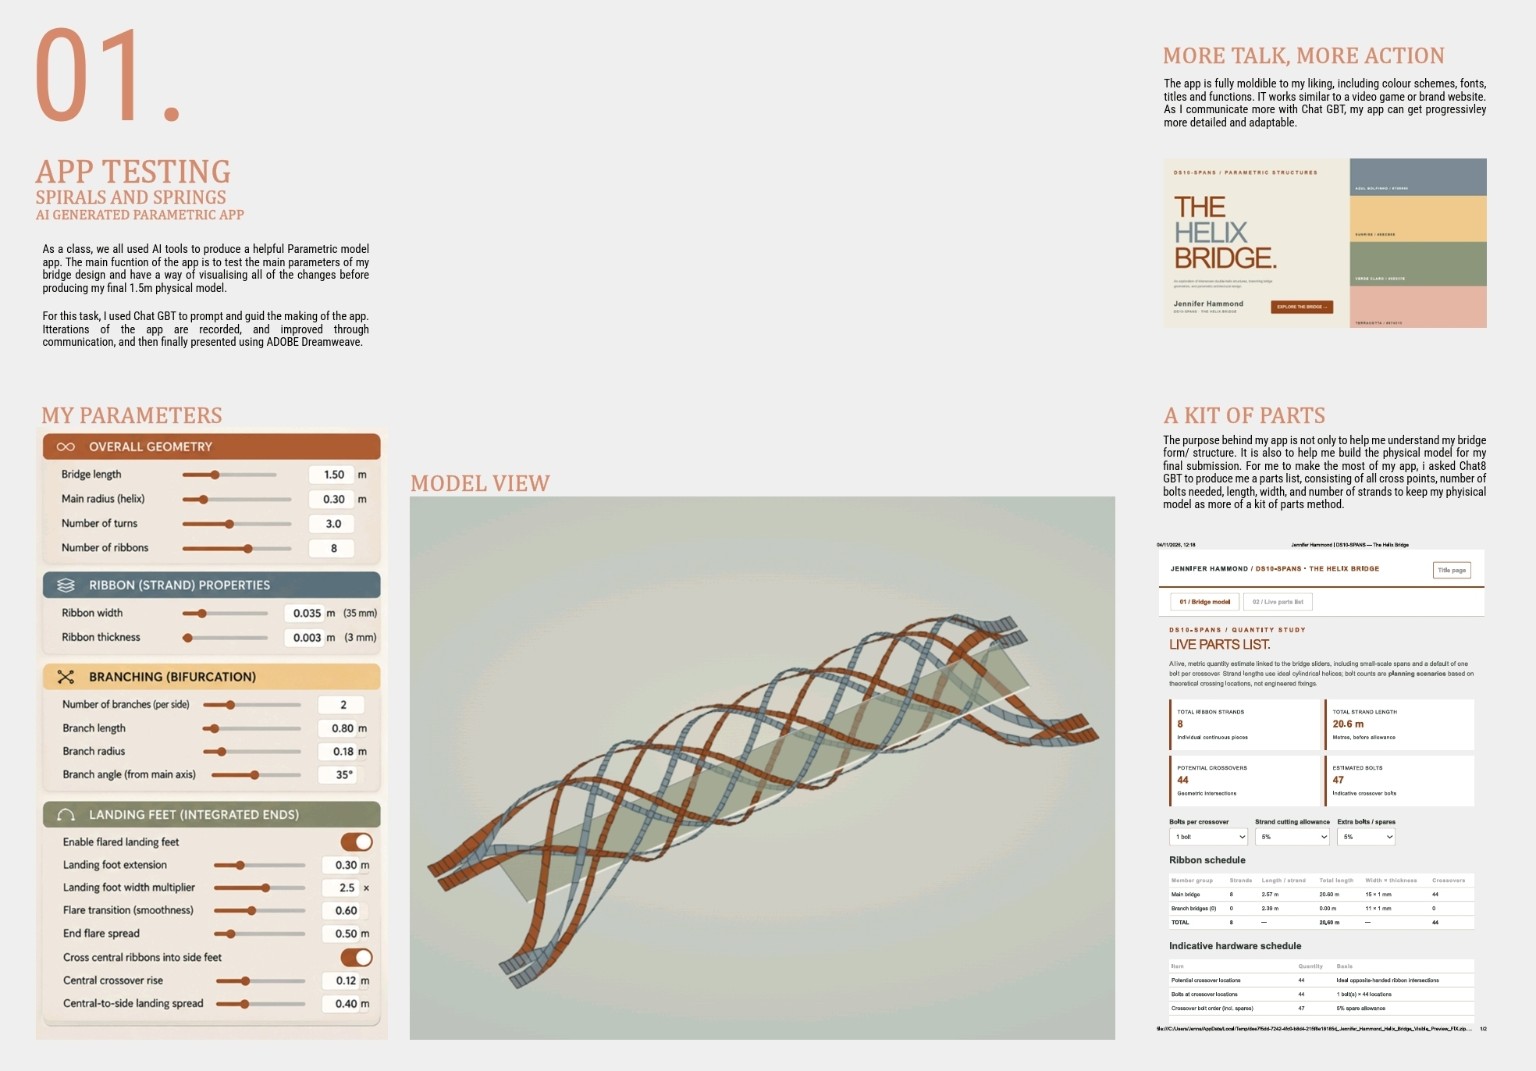
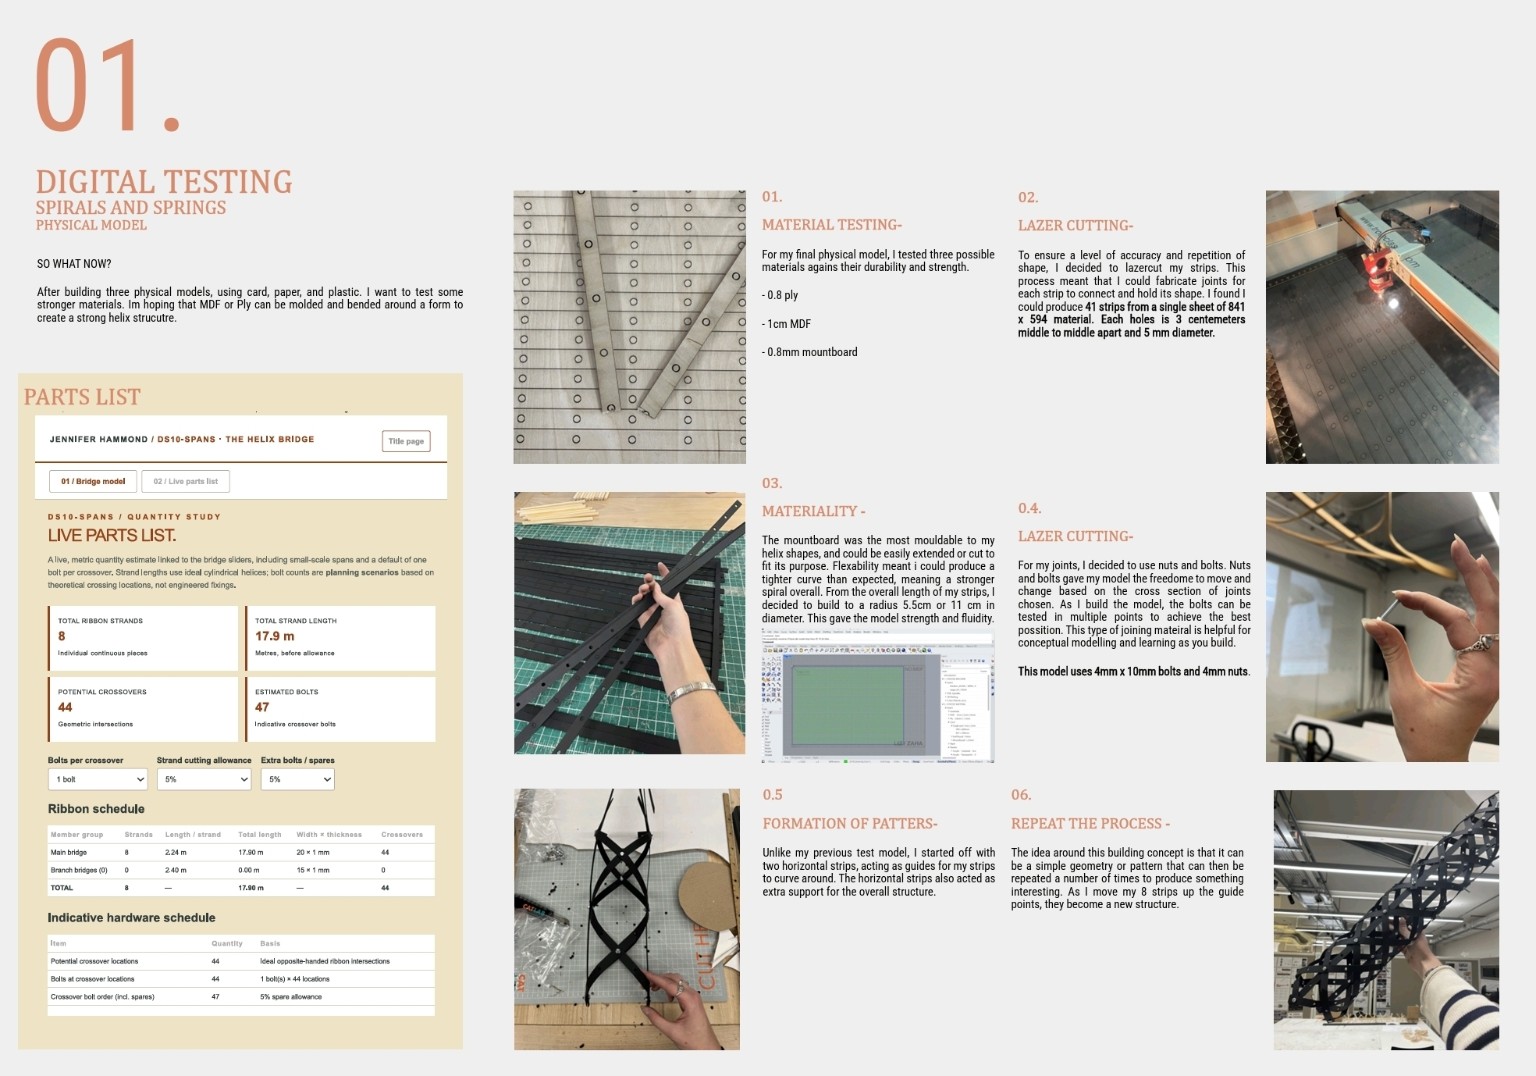
Jennifer Ann Hammond’s Helix Bridge pages are a good example. The configurator explains what changes when you move a slider, the live parts list makes the consequences tangible, and the photographs show how those parts were tested, cut and assembled.
2B | Turn the crossing into a place · 16–26 November
Use Monday’s tutorial to settle on a site you can defend. Then draw who crosses, who stops and what can happen here because two uses share the same span. Test branching, splaying or several landings where that improves access or makes space for something the site needs. Trace the routes back into the city or landscape, and see where the structural system needs to change in response to a load, a use or the ground. Find one material or resource loop worth following, from reused components and disassembly to shared water or energy.
For Thursday 26 November, bring a working plan, a section through the crossing and its landings, and a quick physical study model or digital massing study. Show how the uses fit together, how people get around, and one design decision that came from your bridge experiments.
2.1 | Start the 2045 research today
What kind of civilisation are we designing for in 2045? Start with Nick Bostrom’s Superintelligence and Ray Kurzweil’s The Singularity Is Near or its follow-up The Singularity Is Nearer. Bostrom asks who controls advanced AI, whose goals it serves and who holds power. Kurzweil proposes a timeline for human-level machine intelligence and a technological singularity. Compare their assumptions and ask where change might be slower, more limited or uneven.
Read the books or selected chapters where you can. You can also use AI to summarise the arguments and help you get started. Bring a short comparison in your own words on 26 November. If you use AI, show the prompts you used and what you checked against the books or reliable sources. Continue reading and developing your position over the Christmas break.
Once you’ve grounded your site, use the reading to develop your own 2045 scenarios. What changes for the people who live, work or travel around your site? Show how one of your scenarios would change a specific use, space, construction choice or way of operating your inhabited span. Bring an initial position to Cross Crit 2 on Monday 7 December and develop it further over Christmas.
We’ll develop programme and circular systems on 3 December. Cross Crit 2 is on Monday 7 December.
Studio resources · A4 studio brief · Studio slideshow · Studio introduction with Toby and Arthur
Leave a Reply